How to set up booking system
This streamlined process helps you efficiently set up a product with a booking system.
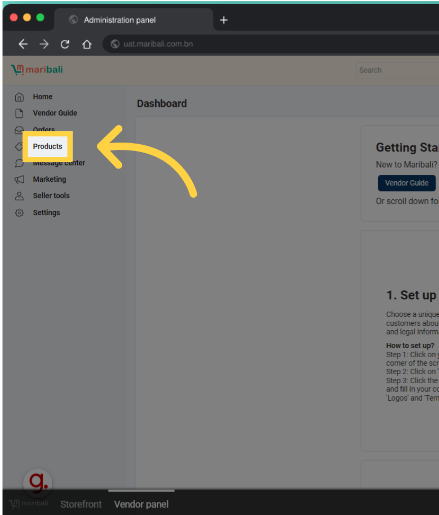
Product Creation
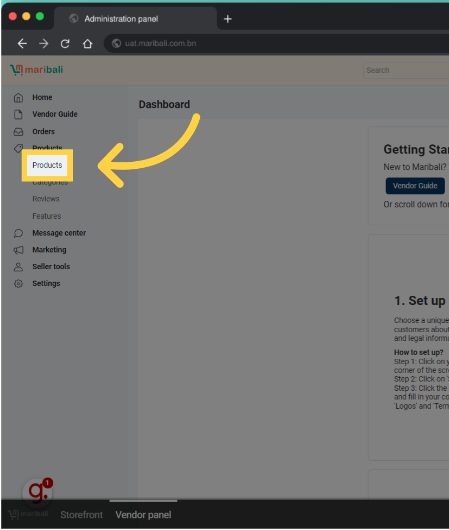
1. Navigate to the Products section and click Products again.
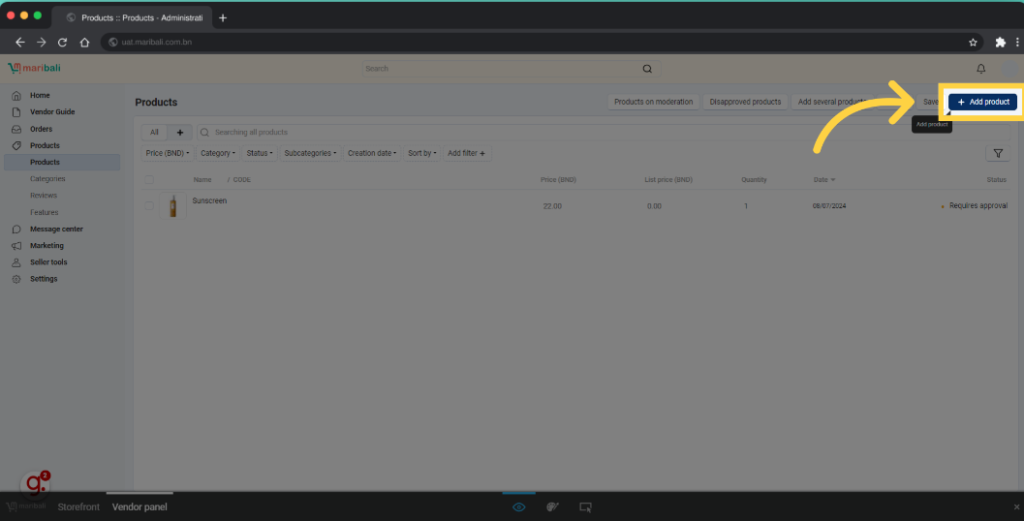
2. Click + Add Product or proceed to step 7 if the product is already created.
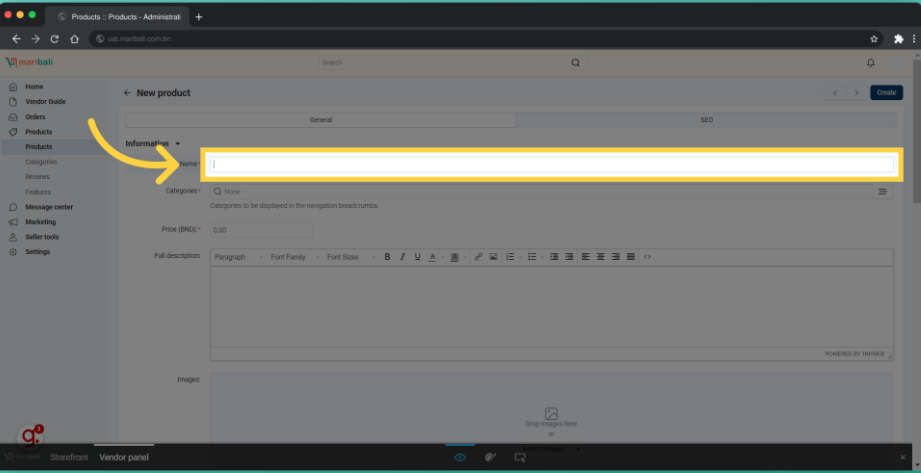
3. Fill in all required fields.
Booking System Setup
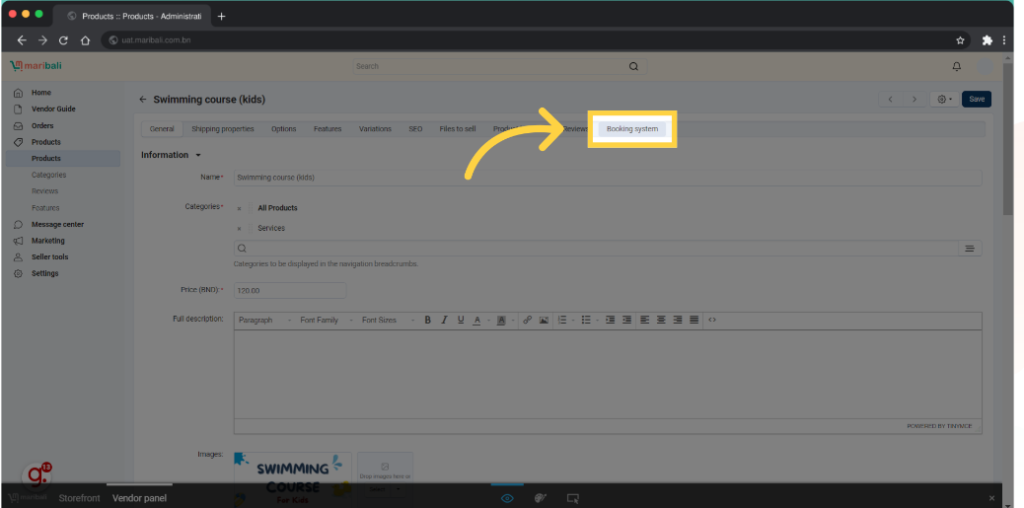
6. Navigate to the “Booking system” tab.
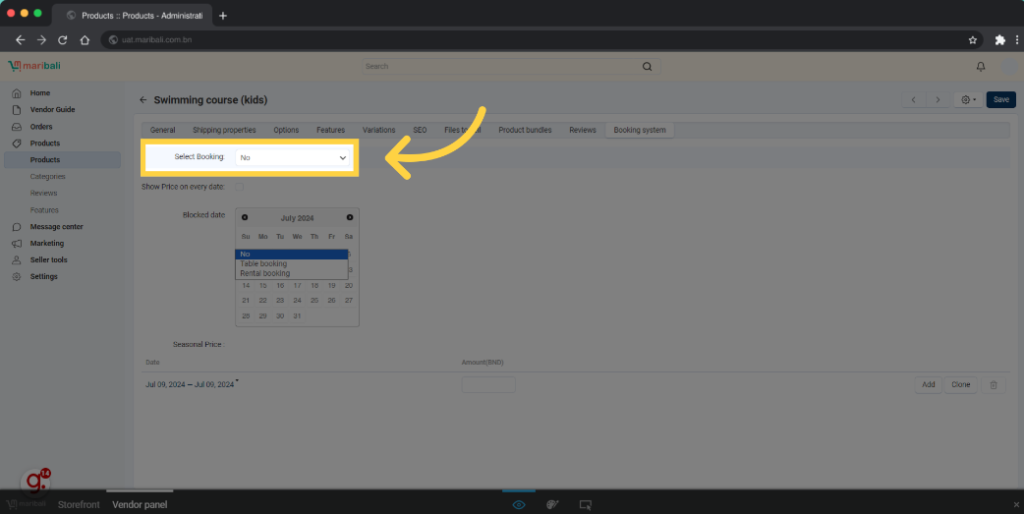
5. Under “Select Booking“, choose “Table Booking“.
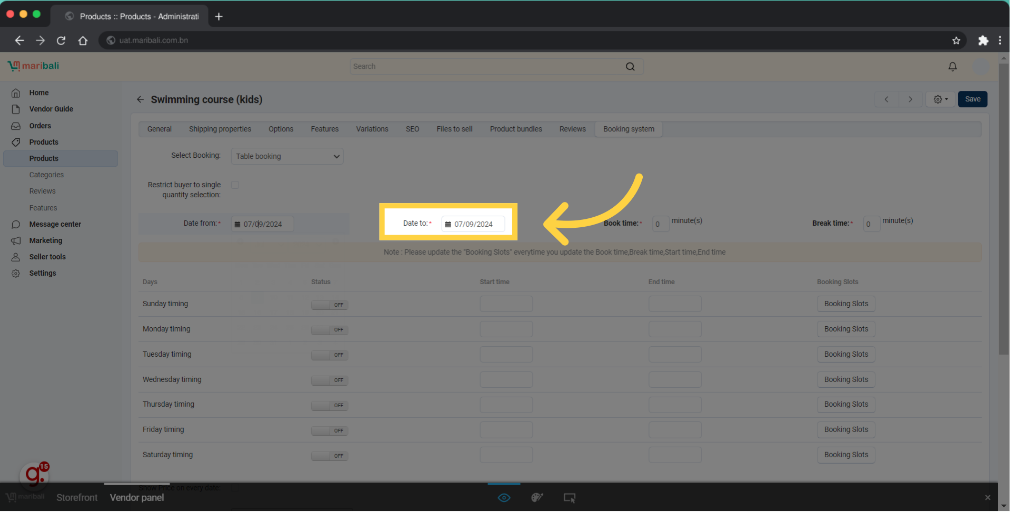
6. Set the booking period by selecting the “Start Date” and “End Date“.
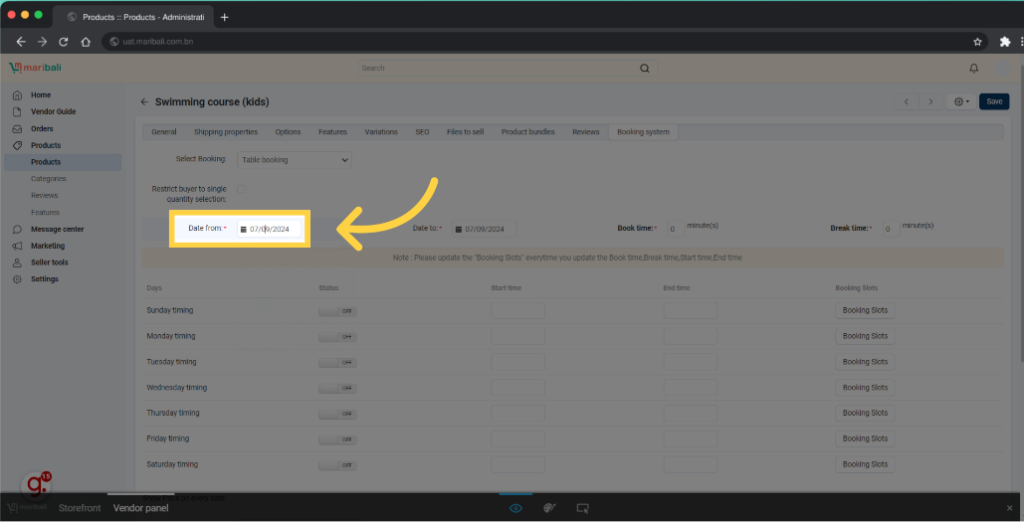
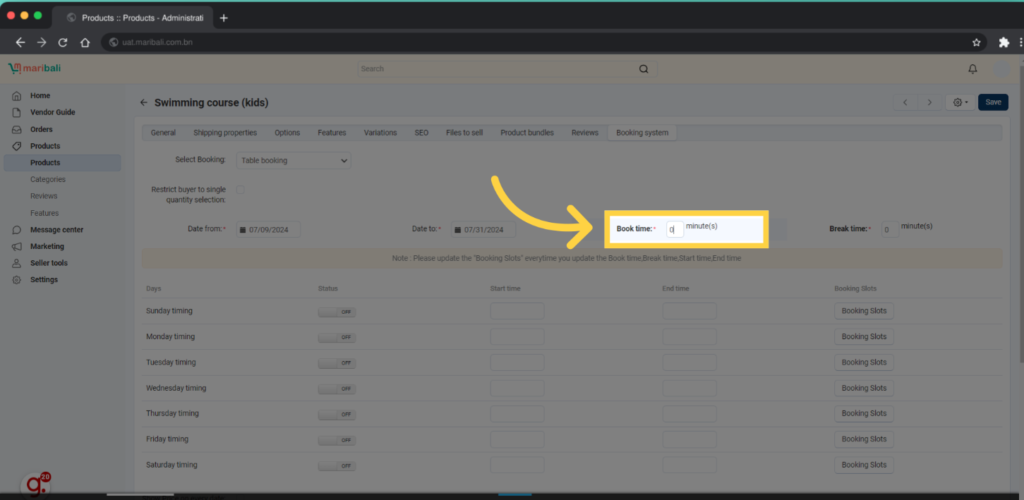
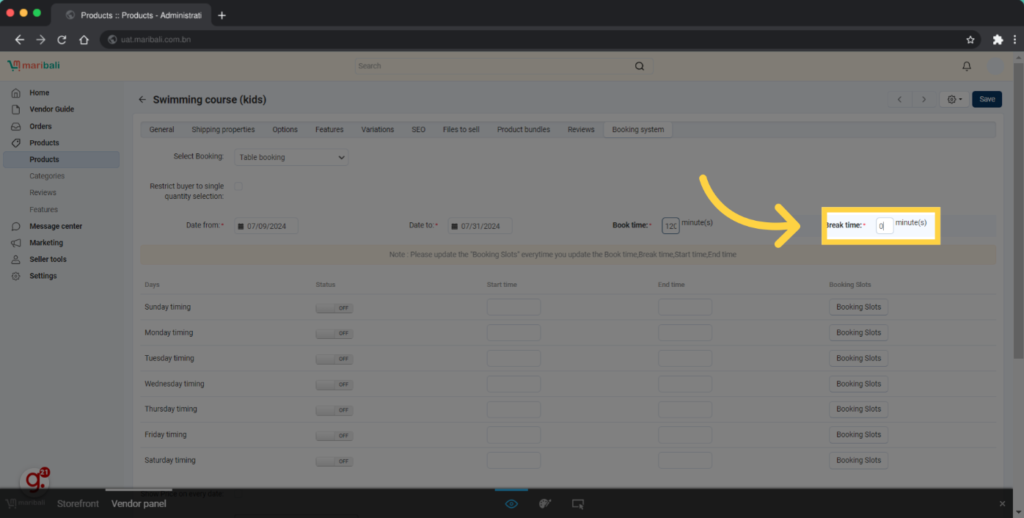
7. Enter the booking duration (in minutes) and any required break time between bookings.
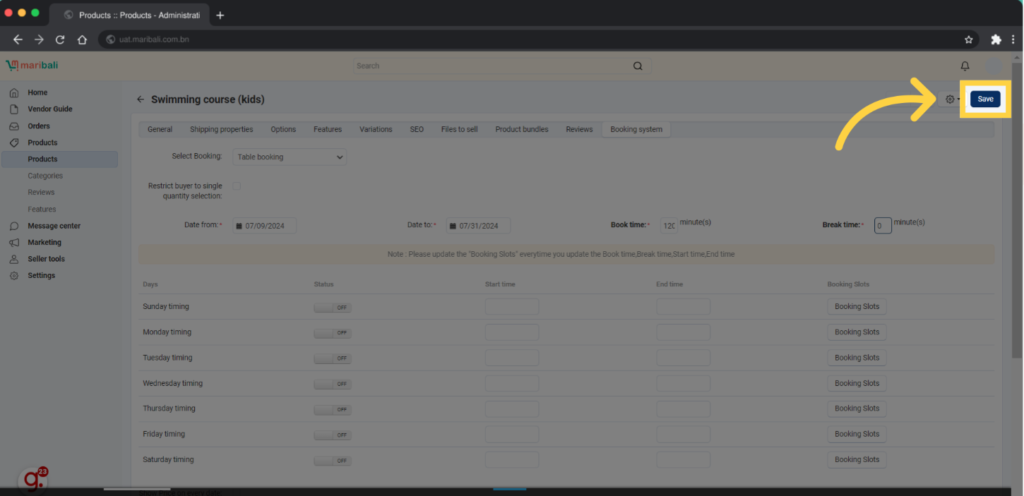
8. Click “Save“after each update.
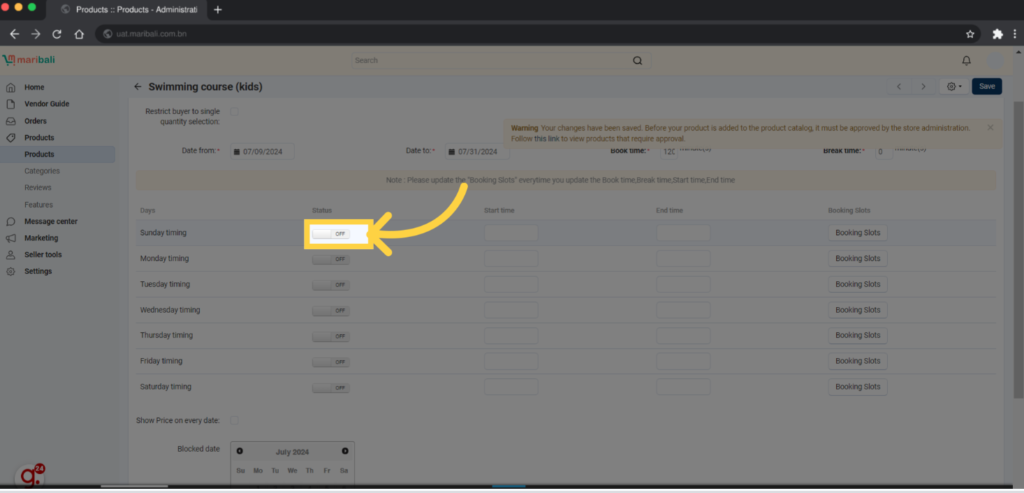
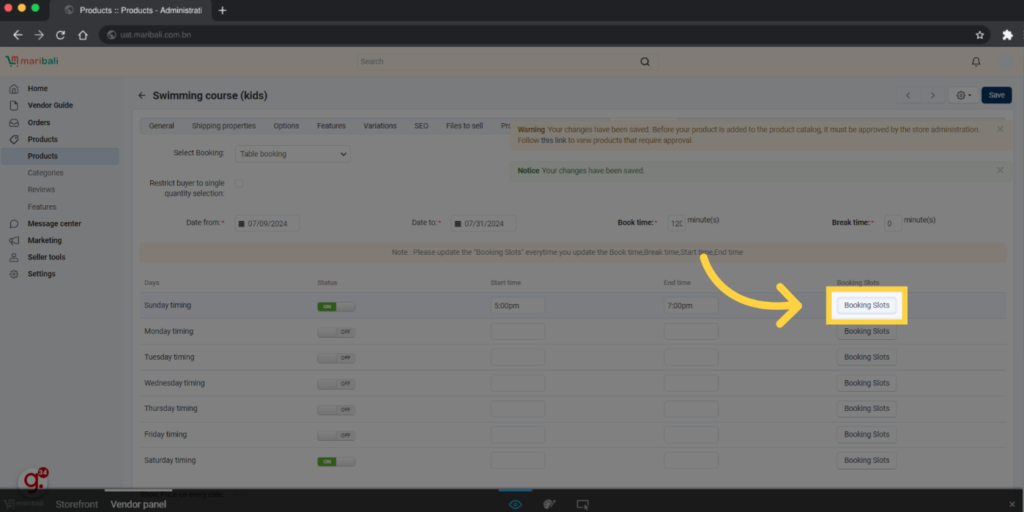
Booking Days & Time Setup
9. To configure booking days, allow certain days to be open for booking by turning the days “On“.
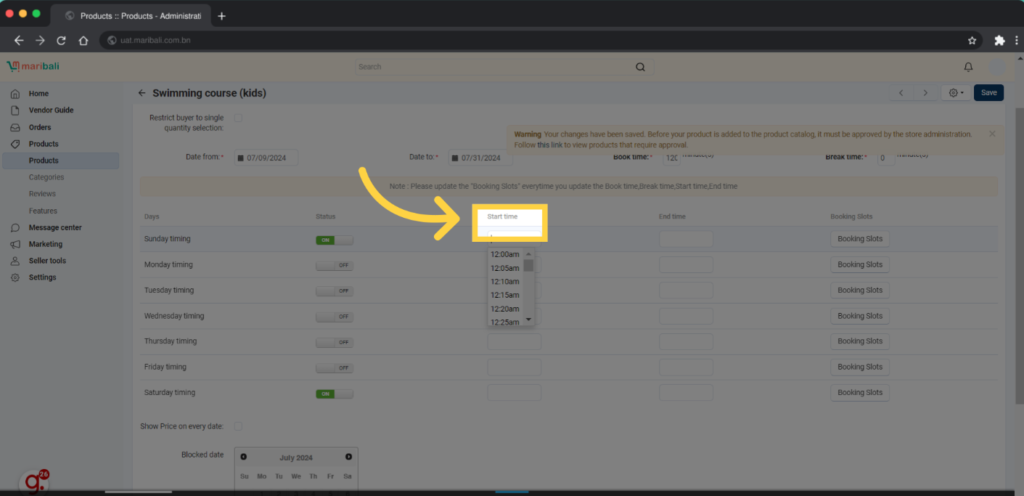
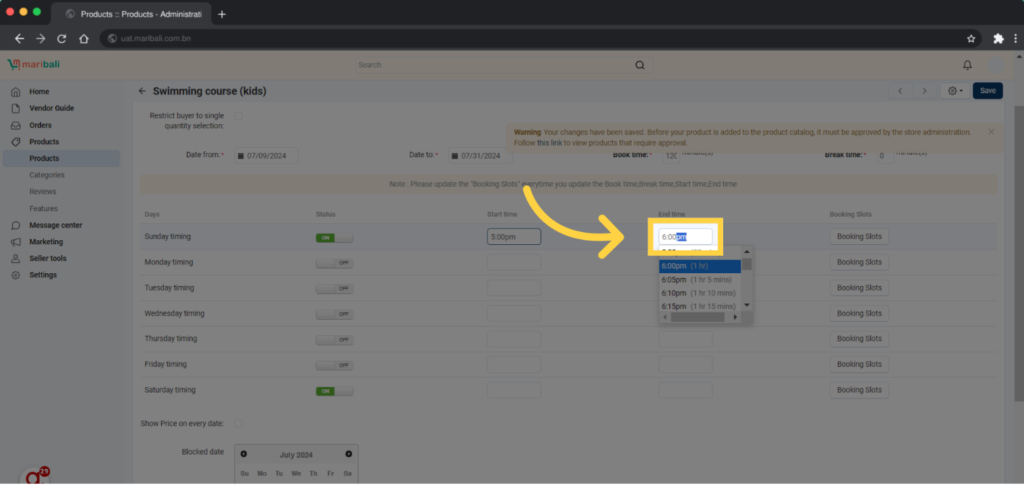
10. Set the start and end times for bookings on each day.
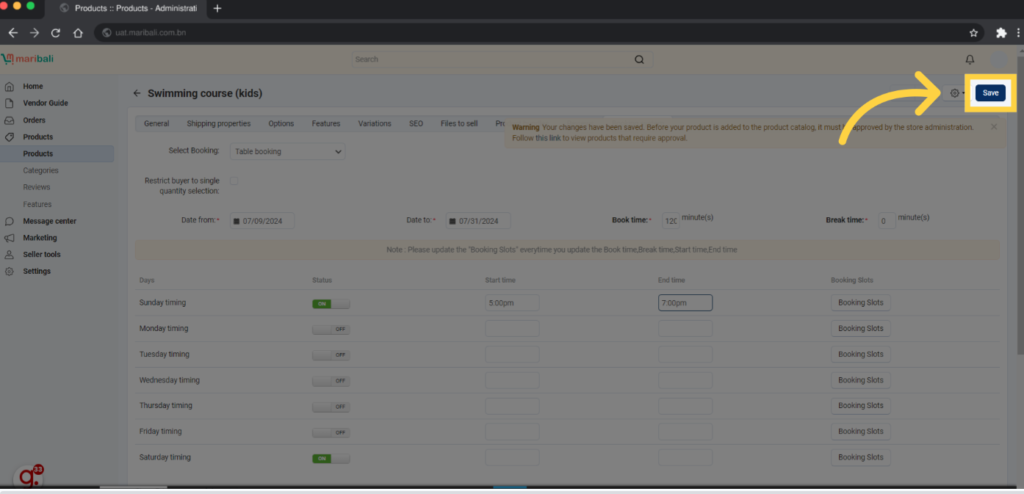
11. After each update, click Save to apply the changes.
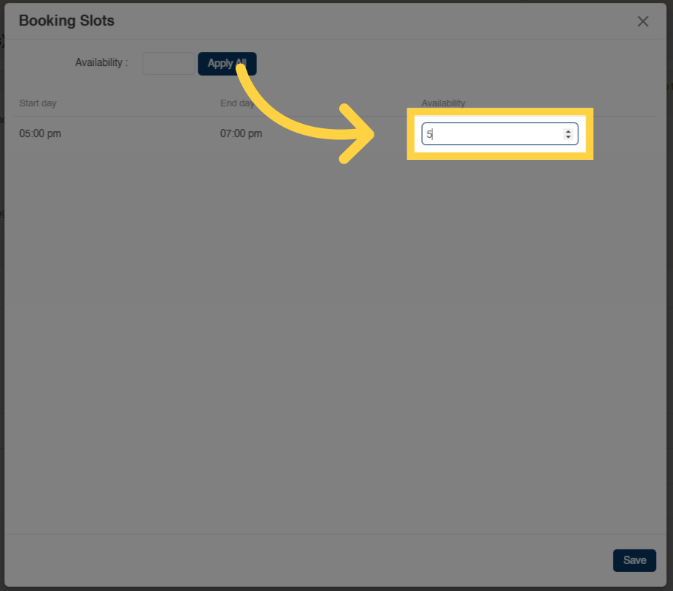
Booking Slot configuration
12. Click “Booking Slots” to configure the slots per booking time.
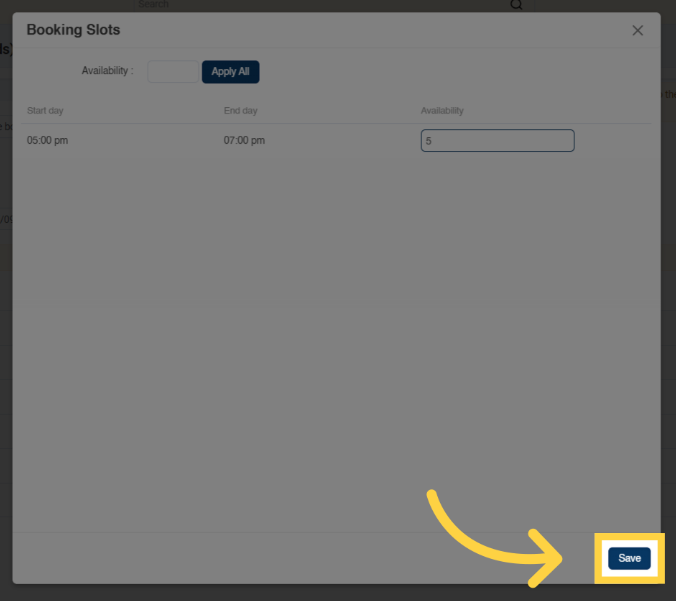
13. Enter the number of available slots per booking time
14. Click Save to finalize the booking slot configuration.
Finalizing and Reviewing
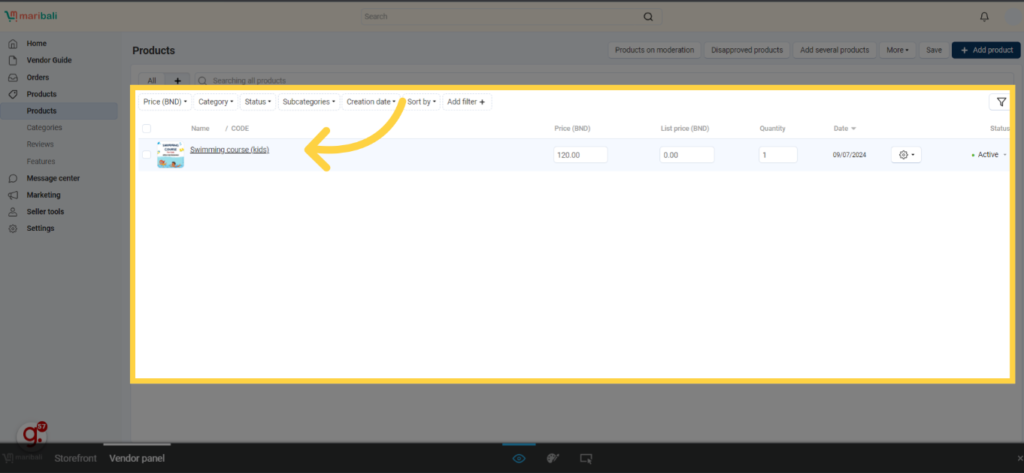
15. Once your product is approved, you will be notified here.
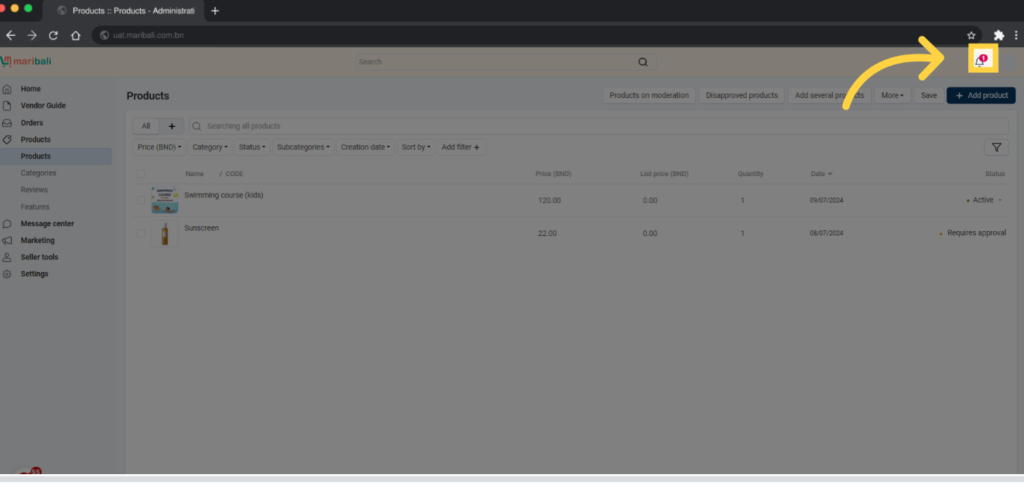
16. Click on the product you added.
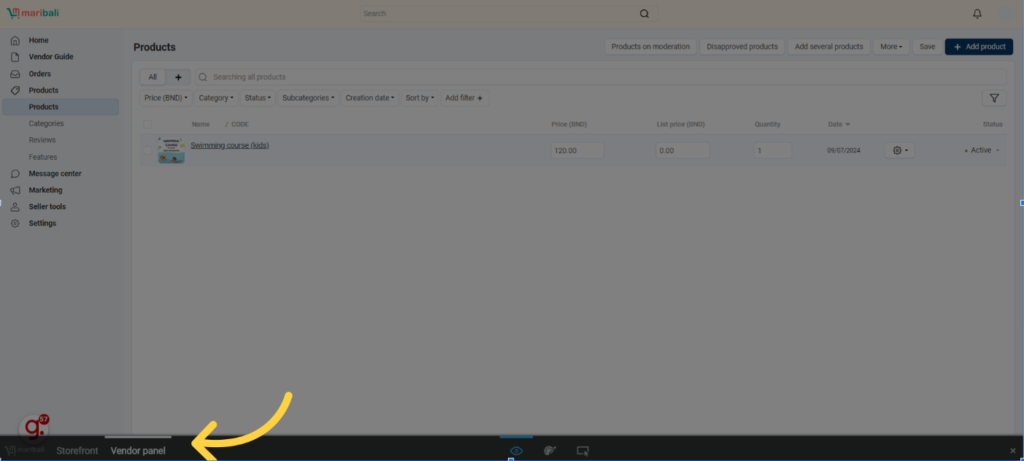
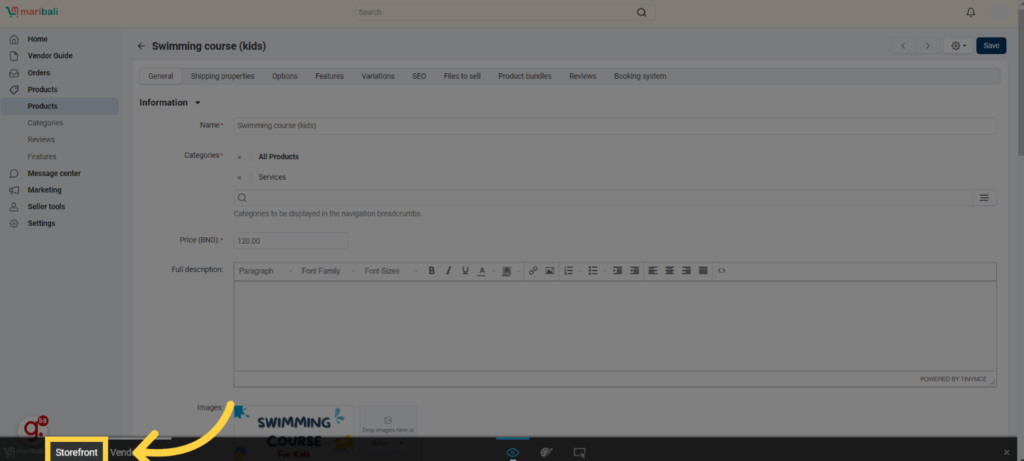
Previewing product at the storefront
Note: preview may not work if your store is not published to LIVE. This is because your products are not available for order yet.
17. Click Storefront to view how the product appears on the website.
18. Ensure everything is functioning correctly by interacting with the product.
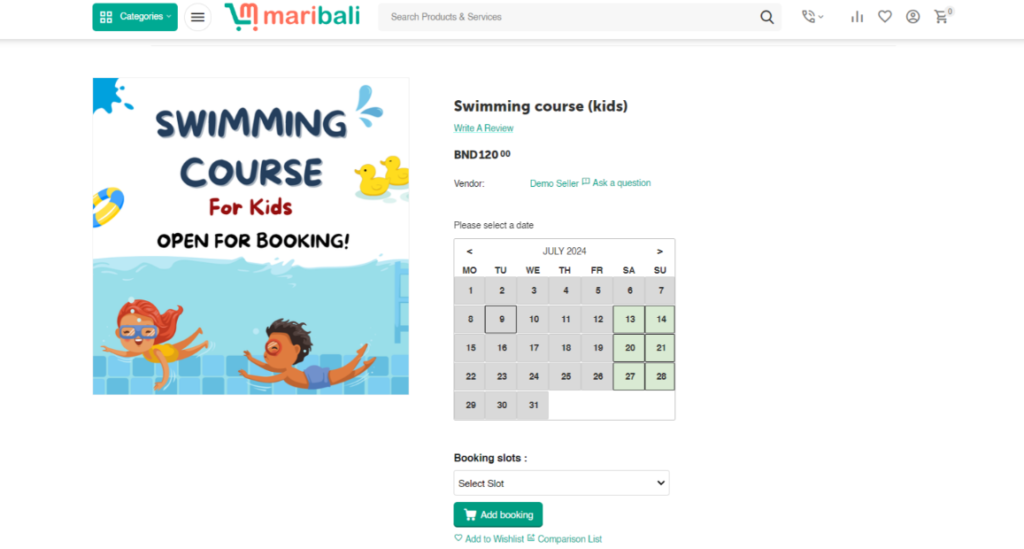
19. To make any edits, click Vendor Panel to return to the dashboard.